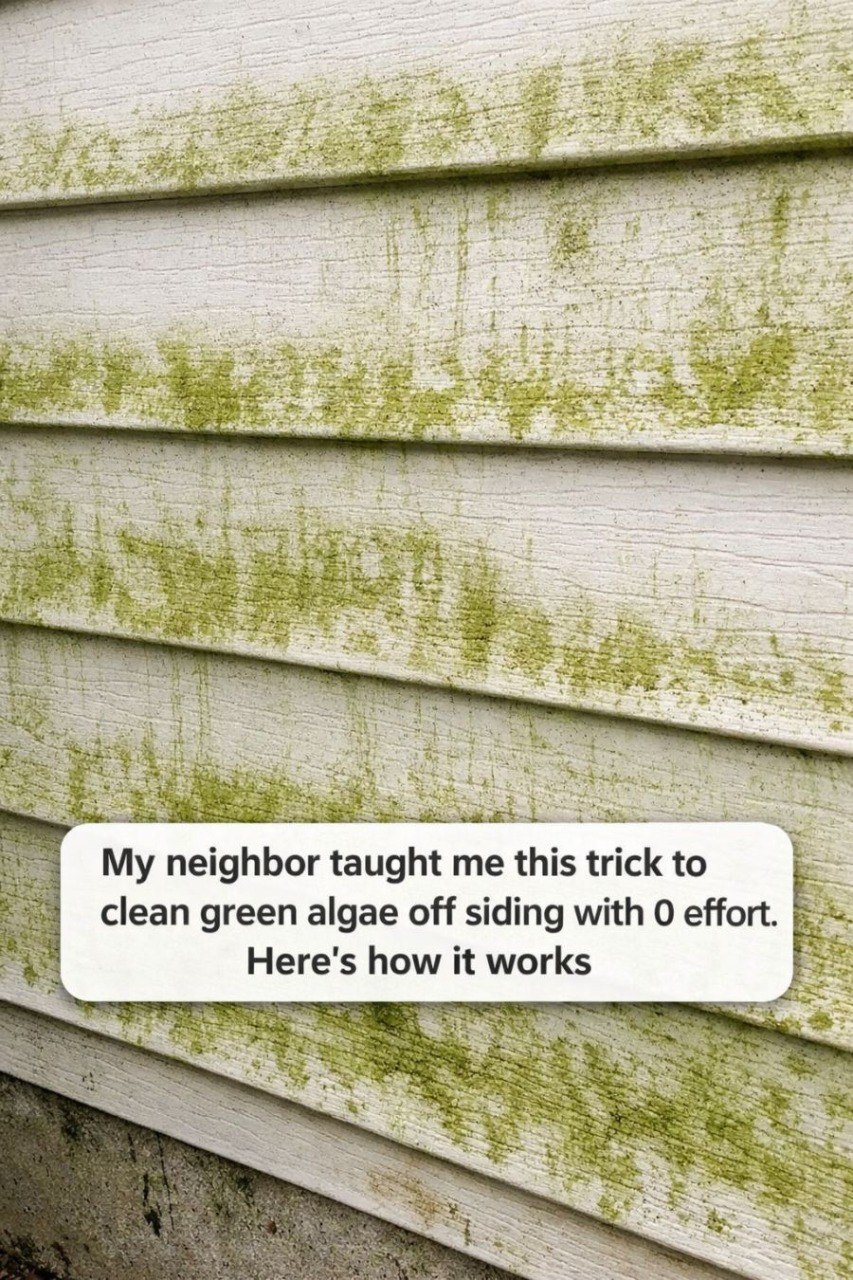
My Neighbor Taught Me This Trick to Clean Green Algae Off Siding With Zero Effort
If you’ve ever stepped back and noticed green streaks creeping up your home’s siding, you’re not alone. Green algae thrive in damp, shaded areas and can quickly make even a beautiful home look neglected. The good news? You don’t need expensive equipment or harsh chemicals to restore your siding. My neighbor shared a simple, low-effort trick that works wonders — and it’s surprisingly affordable.
Below is an easy, step-by-step “recipe” to remove green algae from siding safely and effectively.
Why Green Algae Appears on Siding
Before jumping into the solution, it helps to understand the problem. Green algae form when moisture lingers on surfaces, especially in shaded areas. North-facing walls, areas under trees, and places with poor drainage are most vulnerable. Vinyl, wood, and even fiber cement siding can develop algae over time.
Left untreated, algae can stain siding and cause long-term damage. Thankfully, a simple cleaning solution can break it down and wash it away with minimal scrubbing.
The “Zero Effort” Cleaning Recipe
Ingredients:
-
1 gallon warm water
-
1 cup white vinegar
-
2 tablespoons dish soap
-
Spray bottle or garden sprayer
-
Soft-bristle brush (optional)
-
Garden hose
That’s it! No pressure washer needed.
Step-by-Step Instructions
1. Mix the Solution
In a large bucket, combine one gallon of warm water with one cup of white vinegar. Add two tablespoons of dish soap and stir gently to avoid excessive bubbles.
Vinegar is the key ingredient here. It naturally kills algae and breaks down organic growth without damaging siding. The dish soap helps the mixture cling to the surface and lift dirt.
2. Apply Generously
Pour the mixture into a spray bottle or garden sprayer. Spray it directly onto the algae-covered areas of your siding. Make sure the surface is dry before applying for best results.
Let the solution sit for 15–20 minutes. This soaking time allows the vinegar to penetrate and kill the algae at its roots.
Here’s what algae buildup typically looks like before cleaning:
3. Rinse It Off
After the waiting period, simply rinse the siding with a garden hose. In most cases, the algae will wash away effortlessly.
If there are stubborn spots, lightly scrub with a soft-bristle brush and rinse again. Avoid using hard brushes or abrasive pads that could scratch vinyl siding.
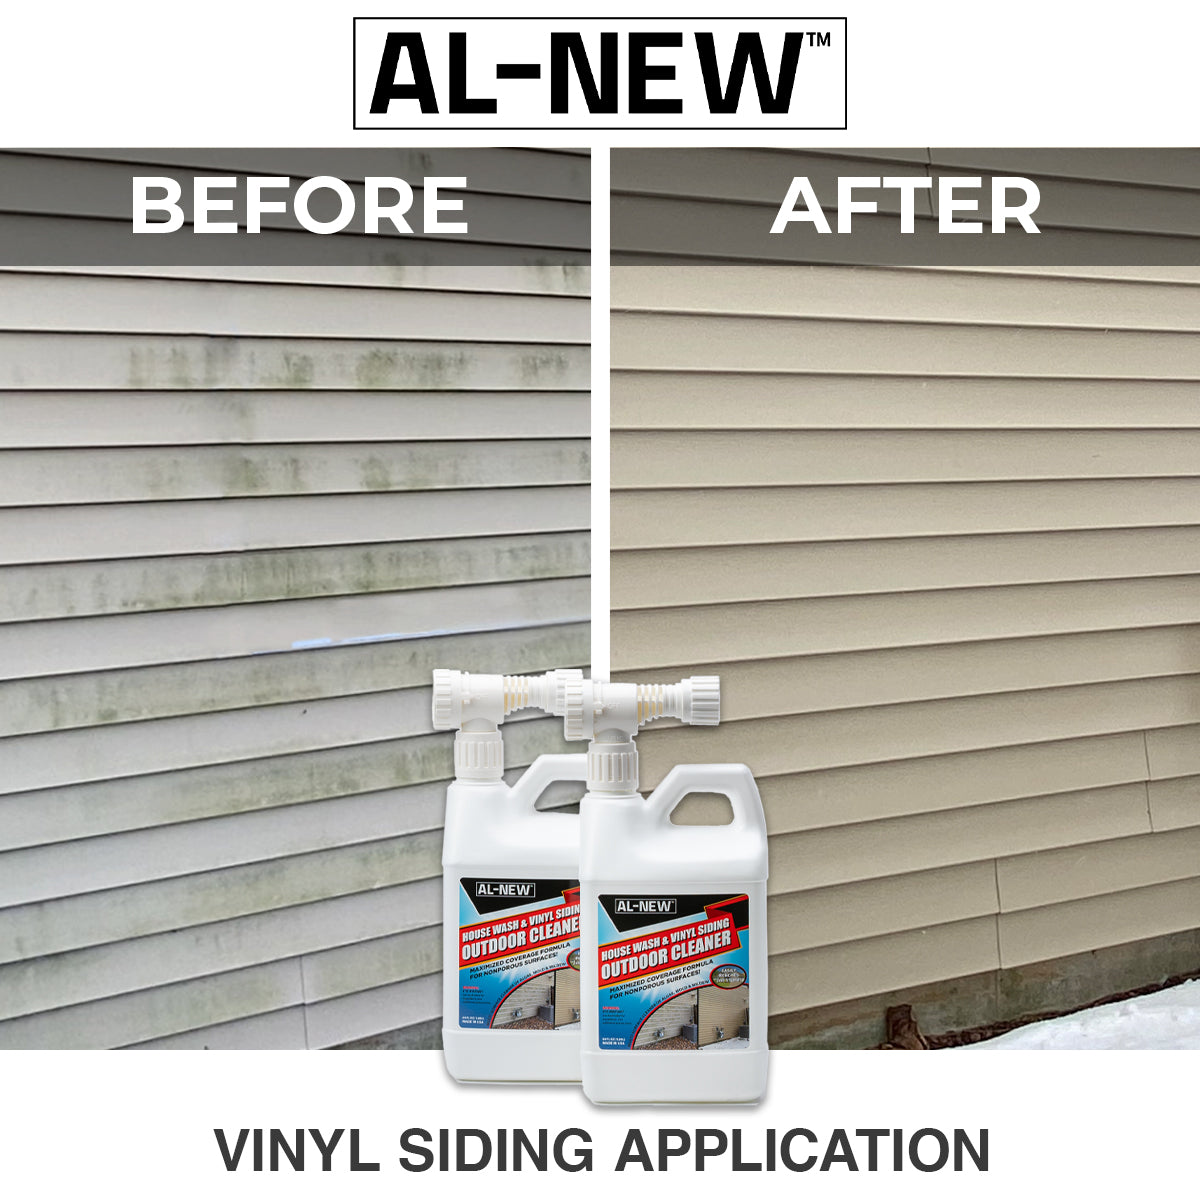
This is what clean siding can look like after treatment:

Many homeowners reach for bleach or rent a pressure washer. While those methods can work, they come with risks:
-
Bleach can damage plants and discolor siding
-
Pressure washers can force water behind siding panels
-
Store-bought cleaners can be expensive
This vinegar-based solution is:
-
Affordable
-
Eco-friendly
-
Safe for most siding types
-
Gentle on landscaping
It’s a low-cost method that delivers high-impact results.
Important Safety Tips
Although this method is simple, keep these precautions in mind:
-
Test a small hidden area first
-
Protect nearby plants by rinsing them with water before and after cleaning
-
Avoid cleaning in direct, intense sunlight
-
Wear gloves if you have sensitive skin
If your siding has severe mold (black patches instead of green algae), you may need a stronger specialized cleaner.
How Often Should You Clean Siding?
For homes in humid or shaded areas, cleaning once a year is usually enough to prevent buildup. If you live in a rainy climate or near trees, you might need to clean twice a year.
Regular maintenance prevents heavy staining and keeps your home looking fresh and well cared for.
Bonus Tip: Prevent Algae from Returning
Cleaning is only half the battle. Here are a few simple ways to reduce future algae growth:
-
Trim back tree branches to increase sunlight
-
Improve drainage around your home
-
Keep gutters clean to prevent water overflow
-
Wash siding annually before algae spreads
The more sunlight and airflow your siding gets, the less likely algae will return.
When to Consider Professional Help
If algae covers large sections of your home or keeps coming back quickly, there may be underlying moisture issues. In those cases, consulting a professional exterior cleaner or contractor can help identify drainage or ventilation problems.
But for most homeowners, this easy DIY method does the job beautifully.
Final Thoughts
It’s amazing how simple solutions often work best. My neighbor’s vinegar trick saved me time, money, and the hassle of renting equipment. With just a few household ingredients and minimal effort, you can restore your home’s siding and boost curb appeal instantly.
The best part? No heavy scrubbing. No harsh chemicals. No complicated tools.
Just spray, wait, rinse — and enjoy a brighter, cleaner home exterior.
If green algae has been bothering you, try this method this weekend. You might be surprised how effortless it really is