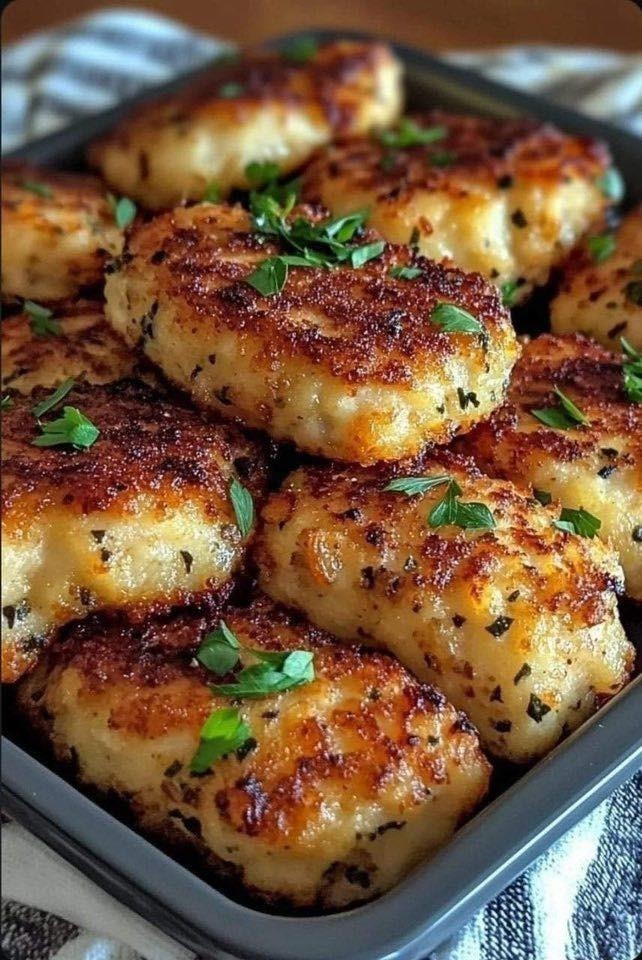
Golden, crispy on the outside and creamy, savory on the inside — croquettes are one of those timeless comfort foods that never fail to impress. Originating from France but embraced around the world, croquettes can be filled with anything from mashed potatoes to minced meat, seafood, or even cheese. This unique version combines the rich flavor of seasoned mashed potatoes with bits of chicken, cheese, and herbs for the ultimate crunchy bite-sized delight. Perfect as an appetizer, snack, or side dish, these homemade croquettes are a celebration of texture and taste.
Ingredients
For the filling:
-
2 large potatoes, peeled and cubed
-
1 tablespoon butter
-
1/4 cup milk
-
1 cup finely shredded cooked chicken (or ham/tuna for variation)
-
1/2 cup shredded mozzarella or cheddar cheese
-
2 tablespoons finely chopped onion
-
1 tablespoon chopped fresh parsley
-
1/2 teaspoon garlic powder
-
1/2 teaspoon black pepper
-
1/2 teaspoon paprika
-
Salt to taste
For coating and frying:
-
1/2 cup all-purpose flour
-
2 large eggs, beaten
-
1 cup breadcrumbs (panko or regular)
-
Oil for deep frying
Optional for serving:
-
Garlic aioli, spicy ketchup, or creamy mustard sauce
Step 1: Prepare the Potato Base
Begin by boiling the potatoes in salted water until tender — about 12 to 15 minutes. Drain them thoroughly and return them to the pot while still hot. Add butter and milk, mashing the potatoes until smooth and fluffy. The secret to perfect croquettes lies in a mash that’s creamy but not overly wet; too much moisture will cause the croquettes to break apart when frying.
Let the mashed potatoes cool slightly, about 5 minutes, before mixing in the remaining ingredients.
Step 2: Mix the Filling
In a large bowl, combine the mashed potatoes with shredded chicken, cheese, chopped onion, parsley, garlic powder, paprika, pepper, and a pinch of salt. Mix until well combined — the texture should be firm enough to hold its shape but soft enough to roll easily.
If the mixture feels too sticky, chill it in the refrigerator for 15–20 minutes. This step helps the croquettes hold their form while shaping.
Step 3: Shape the Croquettes
Scoop about 2 tablespoons of the mixture and roll it between your palms to form smooth cylinders or small ovals (you can also make them round like balls). Consistency in size ensures even frying. Once shaped, place them on a parchment-lined tray and chill again for another 10–15 minutes to firm up before coating.
Step 4: Coat for Crunch
Set up a simple breading station: one plate with flour, one bowl with beaten eggs, and another plate with breadcrumbs.
Roll each croquette first in flour, tapping off excess, then dip into the beaten egg, and finally coat generously in breadcrumbs. For an extra-crispy exterior, you can double-dip: after the first breadcrumb layer, repeat the egg and breadcrumb coating once more.
Return coated croquettes to the fridge for about 10 minutes while heating the oil. This helps the coating set and prevents splitting during frying.
Step 5: Fry to Perfection
In a deep frying pan, heat oil to 350°F (175°C). Fry a few croquettes at a time, being careful not to overcrowd the pan. Turn occasionally to ensure even browning.
Each batch should take about 3–4 minutes until golden and crisp. Remove with a slotted spoon and drain on paper towels. The croquettes should have a satisfying crunch when tapped — a sign that they’re perfectly done.
Step 6: Serve and Enjoy
Serve the croquettes hot and fresh, paired with your favorite dipping sauce. A creamy garlic aioli or spicy chili mayo enhances the flavor beautifully. If you’re hosting guests, garnish your platter with parsley and lemon wedges for a restaurant-style presentation.
Unique Flavor Variations
What makes croquettes endlessly appealing is how adaptable they are. Once you master the base, you can create endless variations. Here are some creative twists:
-
Cheesy Jalapeño Croquettes: Add chopped jalapeños and extra mozzarella for a spicy, gooey center.
-
Smoked Salmon Croquettes: Substitute chicken with flaked smoked salmon, a touch of dill, and cream cheese for a gourmet version.
-
Vegetable Croquettes: Mix in finely chopped carrots, peas, and spinach for a vegetarian option.
-
Beef & Onion Croquettes: Use minced cooked beef, caramelized onions, and Worcestershire sauce for a hearty snack.
-
Sweet Croquettes: Swap savory fillings for mashed sweet potatoes with cinnamon and sugar — ideal for dessert lovers!
Tips for Perfect Croquettes
-
Keep them chilled before frying: Cold croquettes hold their shape better and fry evenly.
-
Oil temperature matters: Too cool, and they’ll absorb oil and get soggy; too hot, and they’ll brown before the inside heats.
-
Use panko breadcrumbs: They create a lighter, crispier crust compared to regular breadcrumbs.
-
Don’t skip the double coating: It’s the secret to an ultra-crunchy, professional texture.
Storage and Reheating
Croquettes can be made ahead — store shaped, uncooked croquettes in an airtight container in the fridge for up to 2 days. To freeze, place them on a tray until solid, then transfer to freezer bags for up to 2 months.
When ready to serve, fry directly from frozen without thawing; just add a minute or two to the cooking time. Leftover fried croquettes can be reheated in an air fryer or oven to restore their crispiness.
Final Thoughts
This unique croquette recipe captures the essence of home-style comfort food with a gourmet twist. The combination of creamy mashed potatoes, savory chicken, melted cheese, and herbs encased in a golden crust makes every bite irresistible. Whether served as an elegant appetizer, a side for dinner, or a quick snack, these croquettes always impress. Their crispy exterior and velvety interior embody the perfect balance of textures — proof that sometimes, the simplest ingredients can create the most unforgettable dishes.
