There’s nothing quite like the aroma of a freshly baked pizza filling your kitchen — that intoxicating mix of bubbling cheese, tangy sauce, and golden crust. But for those who avoid gluten, finding a pizza that’s both satisfying and flavorful can feel like chasing an impossible dream. This Gluten-Free Pizza recipe changes everything. It’s not just a substitute for the real thing — it is the real thing: crisp on the outside, soft and chewy on the inside, and sturdy enough to hold all your favorite toppings without crumbling apart. Whether you’re gluten-intolerant, celiac, or just exploring better-for-you options, this recipe delivers that true pizzeria magic from your own oven.
Ingredients for the Perfect Gluten-Free Pizza Dough
Dry Ingredients:
-
2 cups gluten-free all-purpose flour (with xanthan gum included)
-
2 teaspoons baking powder
-
1 teaspoon salt
-
1 teaspoon sugar (helps activate the yeast and adds slight flavor)
Wet Ingredients:
-
1 packet (2¼ teaspoons) active dry yeast
-
¾ cup warm water (around 105°F/40°C)
-
1 tablespoon olive oil
-
1 teaspoon apple cider vinegar
Optional for Flavor:
-
½ teaspoon garlic powder
-
½ teaspoon dried oregano
-
¼ teaspoon crushed red pepper flakes
For the Pizza Toppings:
-
½ cup pizza sauce (homemade or store-bought)
-
1½ cups shredded mozzarella cheese
-
Favorite toppings: pepperoni, mushrooms, bell peppers, onions, olives, or basil
Step 1: Activate the Yeast
In a small bowl, combine the warm water, sugar, and yeast. Stir gently and let it sit for about 10 minutes, or until it becomes frothy and bubbly. This step ensures that your yeast is alive and will give the dough a beautiful rise — even though gluten-free flour doesn’t have traditional elasticity, yeast helps create a light, airy texture.
Step 2: Mix the Dry Ingredients
In a large mixing bowl, whisk together the gluten-free flour, baking powder, salt, and any optional seasonings like garlic powder or oregano. The baking powder provides extra lift, while the herbs give the dough a subtle, savory note that makes the final crust taste more artisanal than store-bought.
Step 3: Bring the Dough Together
Make a well in the center of your dry ingredients. Pour in the yeast mixture, olive oil, and apple cider vinegar. Using a wooden spoon or stand mixer fitted with a paddle attachment, mix until a sticky, slightly tacky dough forms. Unlike regular pizza dough, gluten-free dough will feel more like thick batter than stretchy dough — and that’s perfectly normal.
If it seems too dry, add an extra tablespoon or two of warm water. If it’s too sticky, sprinkle a small amount of flour on top. The goal is a soft, pliable dough that can be pressed easily without cracking.
Step 4: Rest and Rise
Cover the bowl with a clean kitchen towel and let the dough rest in a warm place for about 30–45 minutes. During this time, the yeast activates and the dough puffs up slightly, developing structure and flavor.
This resting phase is essential for gluten-free baking — it allows the starches in the flour to hydrate properly, which helps the crust bake evenly and develop that chewy interior.
Step 5: Shape the Crust
Preheat your oven to 425°F (220°C) and place a pizza stone or baking sheet inside to heat. A hot surface gives the crust a crisp bottom.
Lay a piece of parchment paper on your counter and dust it lightly with gluten-free flour. Place the dough on top, then sprinkle more flour over it to prevent sticking. Gently press and flatten it into a circle about 12 inches in diameter and about ¼ inch thick.
For a rustic look, leave the edges uneven; for a more classic pizzeria finish, use your fingers to shape a slightly raised crust rim
Step 6: Pre-Bake the Crust
Slide the parchment and dough onto your hot baking sheet or stone. Bake for 8–10 minutes, until the crust begins to firm up and turns slightly golden around the edges. This step ensures your pizza won’t become soggy once you add toppings.
Step 7: Add Sauce and Toppings
Remove the partially baked crust from the oven. Spread a thin layer of pizza sauce over the surface, leaving about an inch border around the edge. Sprinkle generously with mozzarella cheese and arrange your favorite toppings.
For a simple Margherita, use fresh mozzarella slices, cherry tomatoes, and basil. If you’re in the mood for something bold, try a BBQ chicken combo or a veggie-loaded Mediterranean style with artichokes, olives, and feta.
Step 8: Bake to Perfection
Return the pizza to the oven and bake for another 10–12 minutes, or until the cheese is melted, bubbly, and lightly golden. If you like your crust extra crisp, bake for an additional 2–3 minutes.
When done, remove from the oven and let it rest for 5 minutes before slicing. This short cooling time helps the cheese set slightly, giving you clean, beautiful slices.
Step 9: Slice and Enjoy
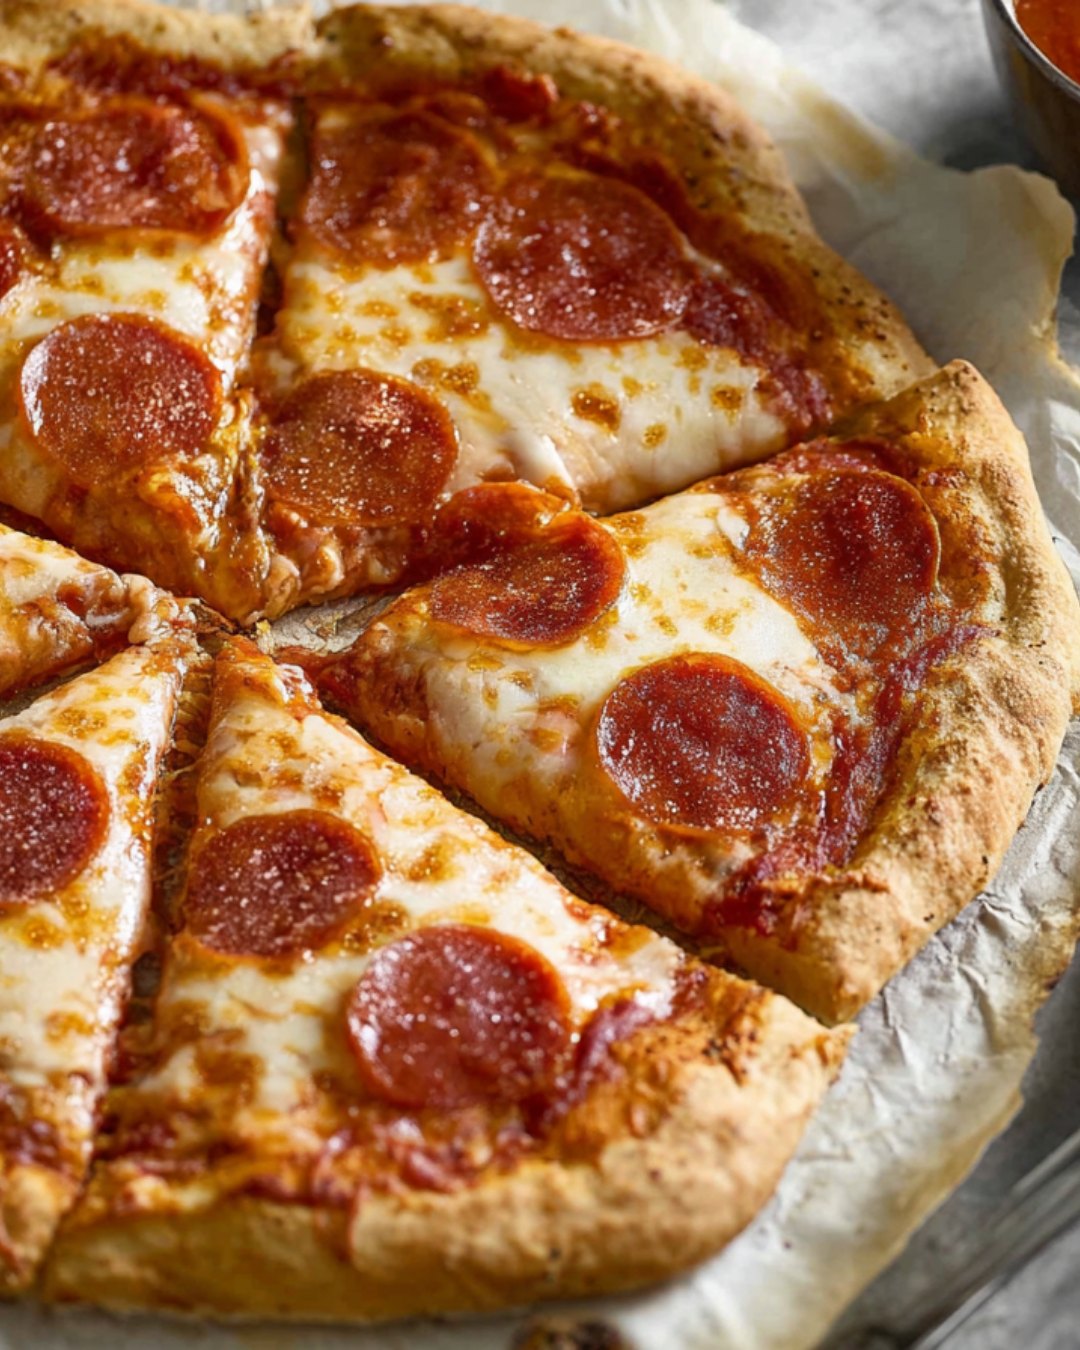
Cut your pizza into wedges, sprinkle with fresh basil or crushed red pepper, and drizzle with a little olive oil if desired. The crust should be golden, slightly chewy, and strong enough to pick up without falling apart — exactly what every great pizza should be.
Chef’s Tips for Success
-
Use a quality gluten-free flour blend – A mix with rice flour, tapioca starch, and potato starch gives the best texture.
-
Don’t skip pre-baking – It prevents sogginess and ensures a crisp base.
-
Add flavor to the dough – Herbs, garlic powder, or parmesan in the dough make it more savory and authentic.
-
Hot oven = perfect crust – The high heat mimics a wood-fired effect at home.
Final Thoughts
This Gluten-Free Pizza recipe proves that you don’t need wheat to create a masterpiece. Each bite offers the perfect contrast — a crispy edge, a tender crumb, and a stretchy, cheesy topping that satisfies every craving. Whether you’re serving a family dinner, game night snack, or weekend treat, this pizza will have everyone asking for seconds — gluten-free or not.
Once you try this recipe, you’ll never look back at store-bought gluten-free crusts again. It’s simple, authentic, and absolutely unforgettable — the kind of pizza that brings people together around the table, one slice at a time.
