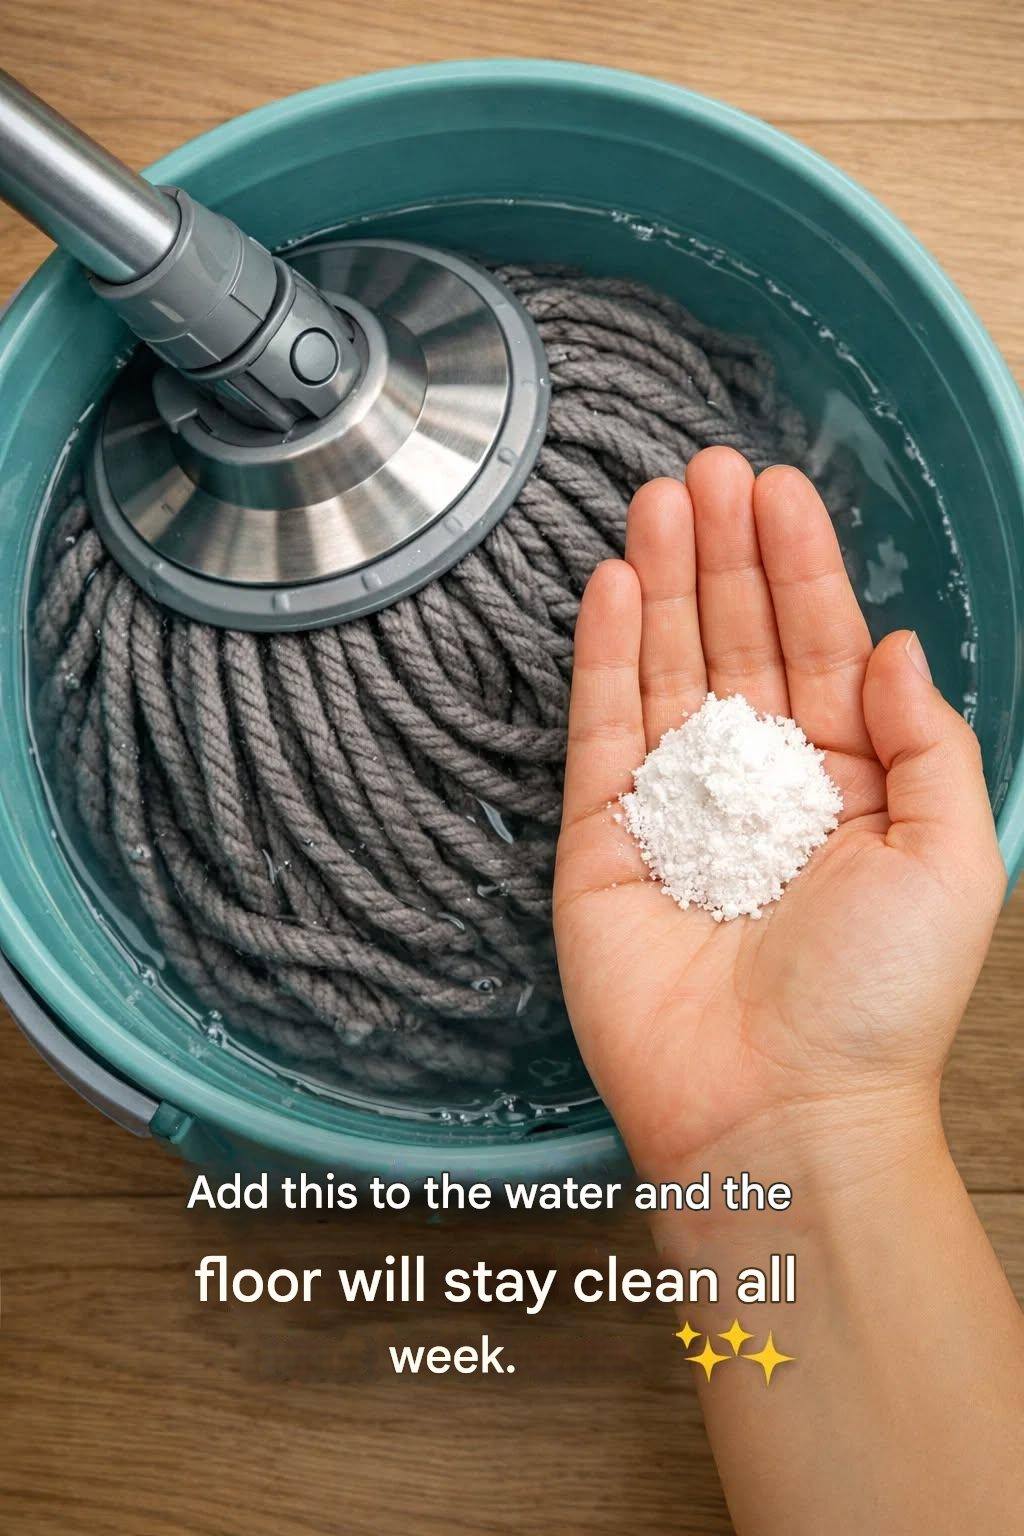
Keeping your floors clean can sometimes feel like an endless chore. No matter how often you mop, dust, footprints, stains, and dullness seem to return quickly. However, there is one simple ingredient that can transform your regular mop water into a powerful cleaning solution: white vinegar. This affordable, natural, and highly effective ingredient has been used for generations to clean and protect floors. When added to your cleaning bucket, vinegar not only removes dirt but also helps prevent buildup, leaving your floors cleaner for longer.
This simple cleaning method is safe, economical, and easy to prepare at home using ingredients you likely already have. With the right mixture and technique, you can maintain shiny, fresh floors without relying on harsh chemical cleaners.
Why Vinegar Works So Well
White vinegar contains acetic acid, which is excellent at breaking down grease, grime, mineral deposits, and bacteria. Unlike many commercial cleaners that leave behind sticky residue, vinegar evaporates cleanly, leaving floors smooth and streak-free.
Here are some of the main benefits of adding vinegar to your mop bucket:
-
Removes dirt and grease effectively
-
Eliminates odors naturally
-
Prevents residue buildup
-
Helps restore shine
-
Reduces bacteria on surfaces
-
Safe and non-toxic for most households
Because vinegar cleans deeply without leaving residue, your floors stay cleaner longer, meaning less frequent mopping is required.
Ingredients You Will Need
This simple floor-cleaning solution requires only a few basic ingredients:
-
1 bucket of warm water (about 4–5 liters)
-
½ cup white vinegar
-
1 tablespoon mild dish soap (optional, for extra cleaning power)
-
5–10 drops essential oil (optional, for fragrance such as lemon, lavender, or eucalyptus)
These ingredients work together to clean, disinfect, and refresh your floors naturally.
Step-by-Step Preparation
Step 1: Fill Your Bucket
Start by filling your cleaning bucket with warm water. Warm water helps loosen dirt and improves the effectiveness of vinegar.
Step 2: Add White Vinegar
Pour ½ cup of white vinegar into the water. This is the key ingredient that breaks down grime and keeps floors cleaner longer.
Step 3: Add Dish Soap (Optional)
If your floors are especially dirty or greasy, add 1 tablespoon of mild dish soap. This helps lift stubborn dirt without damaging surfaces.
Step 4: Add Essential Oil (Optional)
Add a few drops of essential oil to improve the scent. Vinegar smell disappears quickly, but essential oils provide a pleasant, fresh aroma.
Step 5: Mix Gently
Stir the solution gently with your mop or hand to combine all ingredients evenly.
How to Use the Solution Properly
-
Dip your mop into the solution.
-
Wring out excess water to avoid soaking the floor.
-
Mop in sections, moving from the farthest corner toward the exit.
-
Allow the floor to air dry naturally.
-
Avoid rinsing, as the vinegar continues working while drying.
This method ensures a streak-free, clean finish.
Suitable Floor Types
This vinegar solution works safely on many floor types, including:
-
Tile floors
-
Vinyl floors
-
Laminate floors
-
Sealed hardwood floors
-
Linoleum floors
However, avoid using vinegar on natural stone surfaces like marble or granite, as acid can damage them.
Why Floors Stay Cleaner Longer
The secret lies in vinegar’s ability to remove residue completely. Many commercial cleaners leave behind a thin film that attracts dust and dirt. Vinegar removes that film, leaving a smooth surface that resists buildup.
Additionally, vinegar neutralizes odor-causing bacteria, helping your home stay fresh longer.
Extra Tips for Best Results
To maximize the effectiveness of this cleaning method, follow these helpful tips:
-
Sweep or vacuum before mopping
-
Use warm, not hot, water
-
Change the solution if it becomes dirty
-
Mop regularly for maintenance
-
Use a microfiber mop for better cleaning
Consistency helps maintain long-lasting cleanliness.
Budget-Friendly and Eco-Friendly Solution
This cleaning method is not only effective but also affordable. White vinegar costs much less than most commercial cleaners and lasts longer. It also reduces chemical exposure, making it safer for families, children, and pets.
Using natural cleaning solutions helps protect indoor air quality and the environment.
Common Mistakes to Avoid
Avoid these common errors when using vinegar for floor cleaning:
-
Using too much vinegar
-
Not wringing out the mop properly
-
Skipping sweeping before mopping
-
Using on unsealed wood or natural stone
Following the correct steps ensures safe and effective cleaning.
Signs Your Floor Is Properly Cleaned
You will notice several improvements after using this solution:
-
Brighter, shinier surface
-
No sticky feeling
-
Fresh, clean smell
-
Reduced dust accumulation
-
Smooth finish without streaks
These signs indicate that the vinegar solution is working effectively.
Long-Term Benefits
Using vinegar regularly helps maintain your floors in excellent condition. Over time, you may notice:
-
Less need for deep cleaning
-
Improved floor appearance
-
Reduced cleaning effort
-
Longer lifespan of floor materials
This simple habit makes floor maintenance easier and more efficient.
Conclusion
Adding white vinegar to your mop bucket is one of the easiest and most effective ways to keep your floors clean and shiny. This simple ingredient removes dirt, eliminates odors, and prevents buildup, helping your floors stay cleaner for longer. It is affordable, safe, and easy to use, making it an excellent alternative to expensive commercial cleaners.
