Pancakes are a universal breakfast comfort food, loved for their golden edges and soft, pillowy texture. But when gluten is off the table, finding that same tender, airy bite can be a challenge. This Gluten-Free Fluffy Pancakes recipe brings back the magic of classic diner-style pancakes—with a gluten-free twist so good, you’ll forget they’re wheat-free. The secret lies in a careful balance of flours, a touch of acid to activate lift, and just the right amount of moisture for the perfect bite. These pancakes rise tall, stay moist, and are packed with buttery flavor and a hint of vanilla warmth that makes every forkful irresistible.
The Secret to Gluten-Free Fluffiness
Creating gluten-free pancakes that rival traditional ones starts with understanding texture. Gluten provides structure and elasticity in regular pancakes, trapping air bubbles to create that soft fluff. When you remove it, you need a smart blend of ingredients that mimic its function.
Here’s what makes this recipe unique:
-
The flour blend: A mix of rice flour, tapioca starch, and a little almond flour creates a delicate yet hearty structure.
-
Buttermilk & lemon: These add acidity, which reacts with baking soda for a powerful rise.
-
Whipped eggs: Lightly beaten eggs add an extra lift, making the pancakes cloudlike.
-
Melted butter: Keeps the crumb tender while adding richness.
Ingredients
Dry Ingredients:
-
1 cup gluten-free all-purpose flour blend (preferably with xanthan gum)
-
¼ cup rice flour
-
2 tablespoons almond flour
-
2 tablespoons tapioca starch
-
1 tablespoon granulated sugar
-
2 teaspoons baking powder
-
½ teaspoon baking soda
-
¼ teaspoon fine sea salt
Wet Ingredients:
-
1 cup buttermilk (or 1 cup milk + 1 tablespoon lemon juice, rested for 5 minutes)
-
2 large eggs, separated
-
3 tablespoons unsalted butter, melted and slightly cooled
-
1 teaspoon pure vanilla extract
-
1 tablespoon honey or maple syrup (optional, for subtle sweetness)
For Cooking:
-
Butter or coconut oil, for greasing the pan
Optional Toppings:
-
Fresh berries
-
Warm maple syrup
-
Whipped cream or Greek yogurt
-
Toasted nuts or a drizzle of nut butter
Step-by-Step Instructions
Step 1: Mix the Dry Base
In a large bowl, whisk together the gluten-free all-purpose flour, rice flour, almond flour, tapioca starch, sugar, baking powder, baking soda, and salt. The key here is to aerate the dry ingredients well. Sifting isn’t just for show—it helps incorporate air and prevents dense, gummy pancakes.
Step 2: Prepare the Buttermilk Mixture
In a medium bowl, combine buttermilk, egg yolks, melted butter, vanilla extract, and honey. Whisk gently until smooth. The melted butter should be warm—not hot—to avoid curdling the eggs.
This mixture gives the pancakes a buttery tang that balances perfectly with the sweetness of syrup or fruit toppings later on.
Step 3: Beat the Egg Whites
In a clean bowl, use a hand whisk or mixer to beat the egg whites until soft peaks form. This step is optional but transforms the texture dramatically. Folded into the batter later, the egg whites trap air bubbles, making the pancakes rise tall and stay feather-light.
Step 4: Combine Wet and Dry Ingredients
Create a well in the center of the dry mix and pour in the buttermilk mixture. Gently whisk until just combined. Do not overmix—lumps are perfectly fine and even desirable in pancake batter. Overmixing can break the air bubbles, leading to flat pancakes.
Now, carefully fold in the whipped egg whites with a spatula. Use a gentle motion to keep the batter airy. The final texture should be thick but pourable—similar to lightly whipped cream.
Step 5: Let the Batter Rest
Allow the batter to rest for 10 minutes. This gives the flours time to hydrate and the leavening agents time to start their gentle rise. The resting period ensures your pancakes will puff up beautifully when they hit the pan.
Step 6: Preheat and Grease the Pan
Heat a nonstick skillet or griddle over medium-low heat. Once hot, lightly grease it with butter or coconut oil. To test readiness, sprinkle a drop of water on the surface—it should sizzle gently and evaporate quickly.
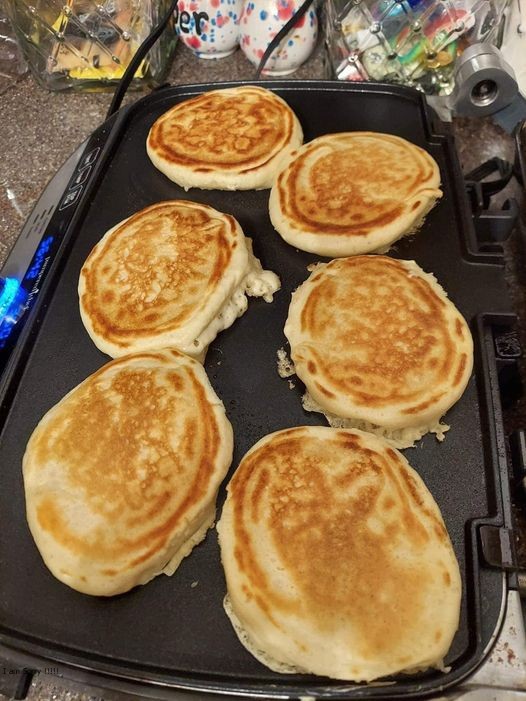
Step 7: Cook the Pancakes
Pour ¼ cup of batter onto the skillet for each pancake. The batter will spread slowly; resist the urge to press it down. Cook for about 2–3 minutes, until small bubbles appear on the surface and the edges begin to look set.
Flip gently and cook another 1–2 minutes, until golden brown and cooked through. Gluten-free pancakes cook best at a lower temperature than regular ones—too high, and they’ll brown before cooking through.
Repeat with remaining batter, adding a touch more butter or oil to the pan as needed.
Step 8: Serve and Enjoy
Stack the pancakes high on a warm plate. Top with butter that melts into every crevice, drizzle generously with maple syrup, and finish with your favorite toppings.
Topping Ideas for Gourmet Flavor
-
Berry Burst: Top with strawberries, raspberries, and blueberries, and a light dusting of powdered sugar.
-
Banana Nut Crunch: Sliced bananas, toasted pecans, and a drizzle of honey or caramel.
-
Chocolate Morning Bliss: Melted dark chocolate and whipped cream for a dessert-style breakfast.
-
Citrus Sunrise: A dollop of Greek yogurt, orange zest, and a drizzle of agave syrup.
-
Savory Twist: Skip the sugar in the batter, and serve with crispy bacon and a poached egg on top.
Tips for Pancake Perfection
-
Use a blend of flours: If you don’t have almond or rice flour, try sorghum or oat flour for a similar texture.
-
Don’t skip resting the batter: It’s essential for structure and tenderness.
-
Avoid over-flipping: Flip only once—too many flips make them tough.
-
Keep them warm: Place cooked pancakes on a parchment-lined baking sheet in a 200°F (93°C) oven while finishing the batch.
-
Add-ins at the right time: If you’re adding blueberries or chocolate chips, sprinkle them on the uncooked side after pouring the batter—this keeps them from sinking.
Storage & Reheating
Leftover pancakes can be stored in an airtight container in the refrigerator for up to 3 days or frozen for up to 2 months. To reheat, pop them in the toaster or warm them in a skillet over low heat—never microwave, as it can make them rubbery.
Why You’ll Love This Recipe
This recipe doesn’t just mimic traditional pancakes—it perfects them. Every bite offers a golden crisp edge followed by a soft, custard-like center. The blend of flours ensures a balanced flavor—nutty from almond, neutral from rice, and light from tapioca. The whipped egg whites elevate them to cloud status, while the buttery undertones make them indulgent yet wholesome.
They’re gluten-free, but more importantly, they’re joyfully delicious—the kind of pancakes that make mornings feel special. Whether you’re gluten-sensitive or simply looking for a lighter, fluffier breakfast treat, these pancakes promise to become your go-to weekend ritual.
