If you’ve been missing the soft, buttery goodness of crescent rolls since going gluten-free, you’re in for a treat. These Gluten-Free Crescent Rolls are tender, golden, and layered with buttery flavor—so much so that you’ll hardly believe they’re gluten-free. Whether served alongside a hearty dinner, filled with chocolate for a sweet treat, or stuffed with ham and cheese for a quick snack, these rolls rise to every occasion. This recipe delivers that nostalgic crescent roll experience with wholesome, gluten-free ingredients and a touch of homemade love.
Why You’ll Love This Recipe
Unlike many gluten-free bread recipes that turn out dry or crumbly, these crescent rolls are soft and pull apart beautifully. The secret lies in using a combination of gluten-free flours and the right technique for rolling and shaping the dough. You’ll get a melt-in-your-mouth texture that’s light, buttery, and satisfying.
These rolls are perfect for holidays, brunches, or just to have something special at the dinner table. And because they freeze beautifully, you can make them ahead of time and bake them fresh whenever the craving hits.
Ingredients
For the Dough:
-
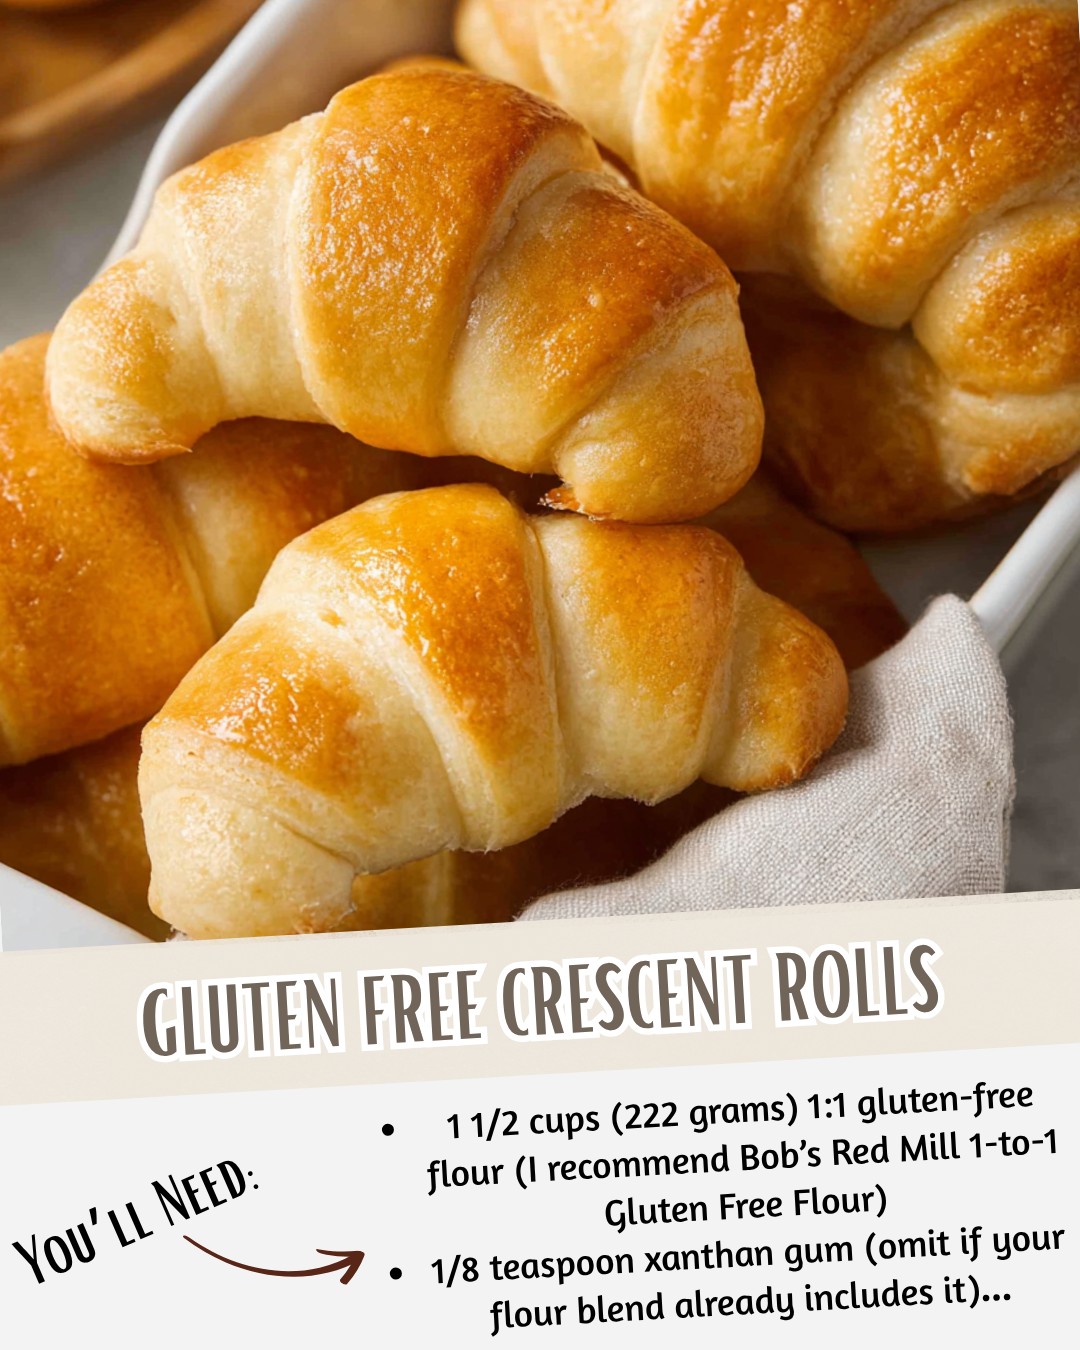
1 ½ cups gluten-free all-purpose flour (with xanthan gum included)
-
½ cup tapioca starch
-
¼ cup sorghum flour
-
2 ½ tsp baking powder
-
1 tsp salt
-
3 tbsp sugar
-
1 packet (2 ¼ tsp) active dry yeast
-
½ cup warm milk (100°F to 110°F; can use almond or oat milk)
-
1 tsp honey or sugar (to activate the yeast)
-
2 large eggs (room temperature)
-
¼ cup unsalted butter, melted and cooled slightly
-
¼ cup plain Greek yogurt (or sour cream)
-
1 tsp apple cider vinegar
For Brushing and Finishing:
-
3 tbsp melted butter (for brushing before baking)
-
1 tbsp melted butter (for brushing after baking)
-
Optional: a sprinkle of sea salt or sesame seeds on top
Step 1: Activate the Yeast
In a small bowl, combine the warm milk, honey (or sugar), and yeast. Stir gently and let it sit for about 5–10 minutes, until it becomes foamy. If it doesn’t foam, your yeast may be expired or the milk too hot or cold, so start again. This step ensures your rolls rise properly and have that delicate, fluffy texture.
Step 2: Mix the Dry Ingredients
In a large mixing bowl, whisk together the gluten-free flour, tapioca starch, sorghum flour, baking powder, salt, and sugar. Mixing the flours before adding the wet ingredients ensures even distribution, which is key to consistent texture.
Step 3: Combine the Wet Ingredients
In another bowl, whisk together the eggs, melted butter, yogurt, and apple cider vinegar. Add in the activated yeast mixture and mix until well blended. This wet mixture should be creamy and slightly frothy from the yeast.
Step 4: Form the Dough
Slowly pour the wet mixture into the dry ingredients, stirring as you go. Use a wooden spoon or a mixer with a dough hook to bring it together. The dough will be soft, slightly sticky, and more pliable than typical gluten-based dough.
If it feels too sticky, add a tablespoon of gluten-free flour at a time until it holds its shape. Cover the bowl with plastic wrap and let it rest for 30–40 minutes in a warm spot. This allows the yeast to develop flavor and the flours to hydrate.
Step 5: Roll and Shape
Once rested, lightly flour your work surface with gluten-free flour. Roll the dough into a 12-inch circle about ¼-inch thick. Using a pizza cutter or knife, slice it into 8 triangles like you would a pizza.
To shape each crescent roll, take one triangle, gently stretch the wide end a bit, then roll it tightly toward the tip. Tuck the tip underneath so it stays in place while baking. Arrange the rolls on a parchment-lined baking sheet with space between them.
Step 6: Proof the Rolls
Cover the rolls lightly with a kitchen towel and let them proof for 20–25 minutes in a warm area. They should puff up slightly but not double in size. This second rise helps develop the light, airy texture.
Step 7: Bake to Golden Perfection
Preheat your oven to 375°F (190°C). Brush the rolls with melted butter before baking. Bake for 16–20 minutes, or until the tops are beautifully golden brown.
Remove from the oven and immediately brush with another layer of melted butter for that glossy finish and irresistible buttery aroma.
Step 8: Serve and Enjoy
Allow the rolls to cool slightly before serving. They’re best enjoyed warm—soft, fragrant, and perfectly golden. You can serve them with honey butter, jam, or a simple pat of butter.
Tips for Perfect Gluten-Free Crescent Rolls
-
Use a quality gluten-free flour blend: Not all blends behave the same way. Look for one with a mix of rice flour, potato starch, and xanthan gum.
-
Don’t skip the resting time: Gluten-free doughs need that hydration time to avoid a grainy texture.
-
Handle gently: Gluten-free doughs are more delicate; avoid overworking them.
-
Try dairy-free: Substitute butter with vegan butter and milk with almond milk for a dairy-free version.
-
Freeze for later: Freeze unbaked rolls on a tray, then store them in a zip-top bag. Bake straight from frozen—just add 5 extra minutes to baking time.
Creative Variations
-
Garlic Butter Crescent Rolls: Add ½ tsp garlic powder to the dough and brush with garlic butter after baking.
-
Cheese-Filled Crescents: Before rolling, sprinkle shredded mozzarella or cheddar on each triangle.
-
Sweet Crescents: Sprinkle cinnamon sugar over the dough and drizzle with vanilla glaze after baking.
-
Stuffed Ham & Cheese Rolls: Add a slice of ham and cheese before rolling for an irresistible savory snack.
Conclusion
These Gluten-Free Crescent Rolls prove that you don’t have to sacrifice flavor or texture when eating gluten-free. With their light, tender crumb and buttery layers, they’re sure to impress anyone at the table—gluten-free or not. Whether you enjoy them plain, filled, or topped with your favorite spread, each bite brings back that comforting warmth of homemade baking.
