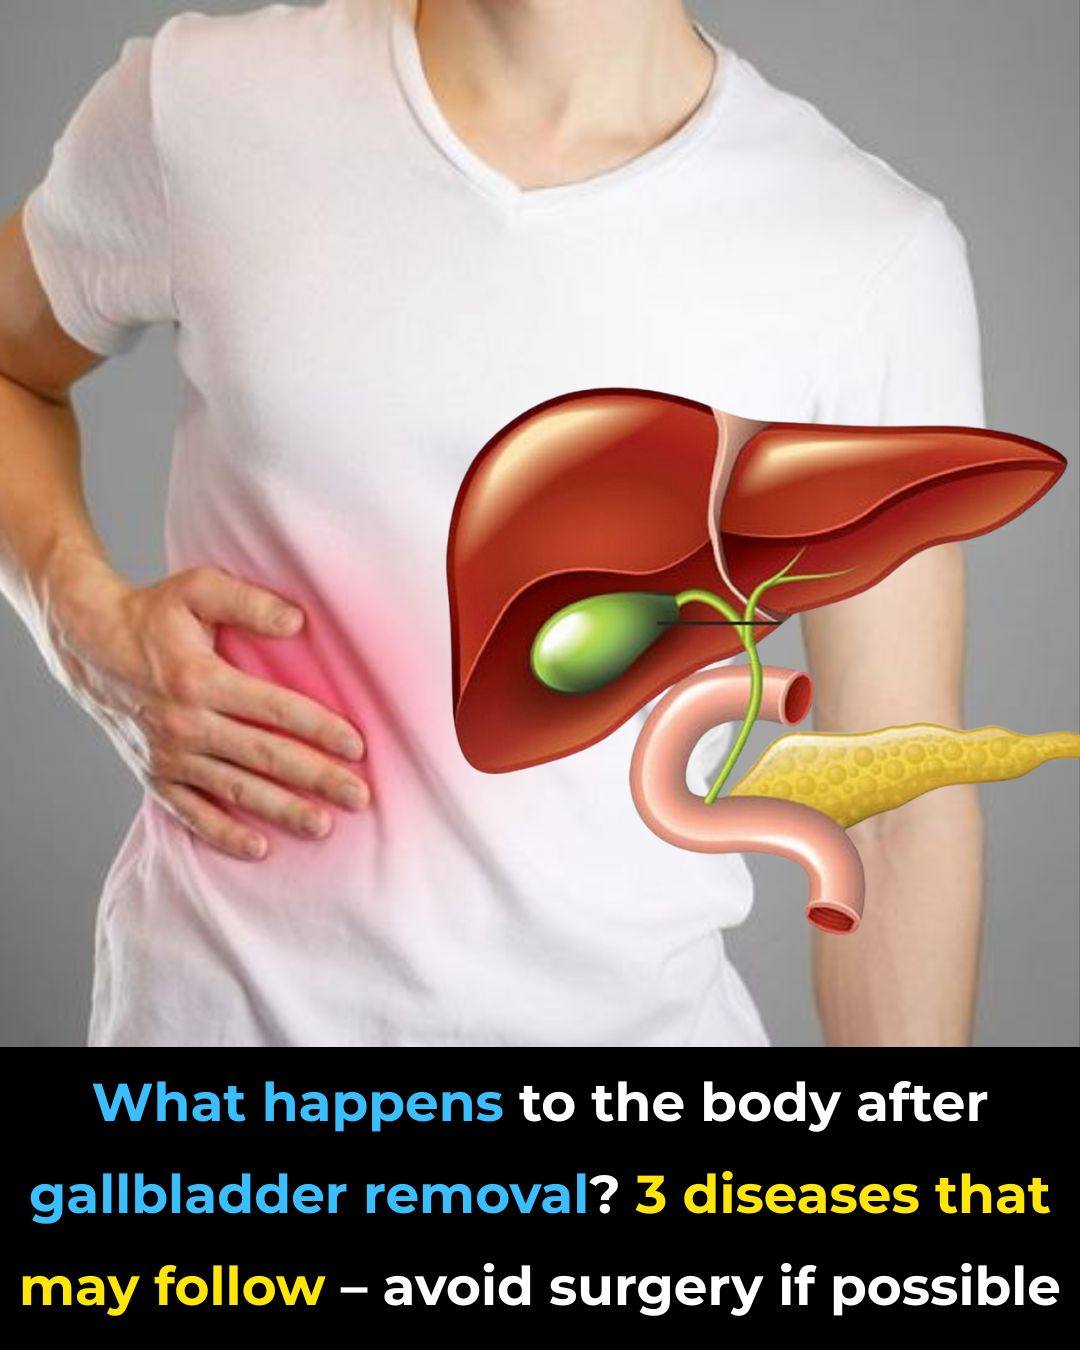
What Happens to the Body After Gallbladder Removal
Gallbladder removal, medically known as cholecystectomy, is one of the most common surgical procedures performed worldwide. Many people undergo this surgery due to gallstones, inflammation, infection, or severe pain caused by gallbladder dysfunction. While the idea of removing an organ may sound alarming, the human body is remarkably adaptable. You can live a healthy, normal life without a gallbladder — but some changes do occur.
Let’s explore what really happens inside the body after gallbladder removal and how you can support your digestion naturally.
Understanding the Role of the Gallbladder
The gallbladder is a small, pear-shaped organ located just beneath the liver. Its main job is to store and concentrate bile — a digestive liquid produced by the liver. Bile helps break down fats in the foods you eat.
When you consume a fatty meal, the gallbladder releases stored bile into the small intestine, where it helps digest and absorb fats and fat-soluble vitamins (A, D, E, and K).
After the gallbladder is removed, bile no longer has a storage reservoir. Instead, it flows directly from the liver into the small intestine in a slow, continuous stream.
Immediate Effects After Surgery
In the first few days or weeks following surgery, the body adjusts to the new bile flow pattern. Some common temporary symptoms include:
-
Mild diarrhea
-
Bloating
-
Gas
-
Loose stools
-
Nausea
These symptoms happen because bile is no longer released in controlled amounts. Instead of being stored and released during meals, it drips steadily into the intestine, which may affect how fats are digested.
For most people, these symptoms improve within a few weeks as the digestive system adapts.
Long-Term Changes in Digestion
Over time, the liver continues producing bile as usual. However, because there’s no storage system, large amounts of fatty food can be harder to digest all at once.
Some people may experience:
-
Fat Sensitivity
Heavy, greasy meals may cause discomfort or urgent bowel movements. -
Bile Acid Diarrhea
In some cases, excess bile reaching the colon can cause chronic loose stools. -
Mild Nutrient Absorption Changes
Rarely, absorption of fat-soluble vitamins may be slightly affected if fat digestion is consistently impaired.
However, many people notice little to no difference in their digestion long term.
How the Body Adapts
The digestive system is incredibly flexible. After gallbladder removal:
-
The bile ducts may slightly enlarge to store small amounts of bile.
-
The liver continues to regulate bile production.
-
The small intestine adjusts to continuous bile flow.
-
Gut bacteria may shift slightly to accommodate new digestion patterns.
Most individuals resume normal eating habits within a few months.
Supporting Your Body After Gallbladder Removal
While no special lifelong diet is required, certain habits can ease digestion and promote comfort.
1. Eat Smaller, More Frequent Meals
Large meals high in fat can overwhelm the digestive system. Smaller portions help bile work more effectively.
2. Choose Healthy Fats
Instead of fried or heavily processed fats, opt for:
-
Olive oil
-
Avocado
-
Nuts and seeds
-
Fatty fish in moderate amounts
Healthy fats are easier to digest and provide important nutrients.
3. Increase Fiber Gradually
Fiber helps regulate bowel movements. Good options include:
-
Oats
-
Brown rice
-
Vegetables
-
Fruits
Introduce fiber slowly to avoid gas and bloating.
4. Stay Hydrated
Water supports digestion and helps prevent constipation.
5. Limit Very Greasy Foods
Deep-fried foods and heavy creams may cause discomfort, especially in the early months after surgery.
Potential Long-Term Health Considerations
Although gallbladder removal is generally safe, some studies suggest a slightly increased risk of:
-
Acid reflux
-
Changes in gut microbiome
-
Fatty liver (in some individuals)
Maintaining a balanced diet and active lifestyle greatly reduces these risks.
Emotional and Lifestyle Impact
Many people feel relief after surgery because gallbladder attacks can be extremely painful. Once healed, individuals often report better overall quality of life.
There is no reduction in life expectancy due to gallbladder removal. The liver continues doing its essential work, and digestion remains functional.
When to See a Doctor
While most people recover smoothly, consult a healthcare provider if you experience:
-
Persistent diarrhea lasting more than a few weeks
-
Severe abdominal pain
-
Yellowing of the skin or eyes (jaundice)
-
Unexplained weight loss
These symptoms may indicate bile duct issues or other digestive concerns.
Final Thoughts
Gallbladder removal may change how bile flows through your digestive system, but it does not prevent you from living a healthy life. The body adjusts, digestion stabilizes, and most people return to normal routines without major restrictions.
By choosing balanced meals, moderating fat intake, and listening to your body’s signals, you can support smooth digestion long after surgery.