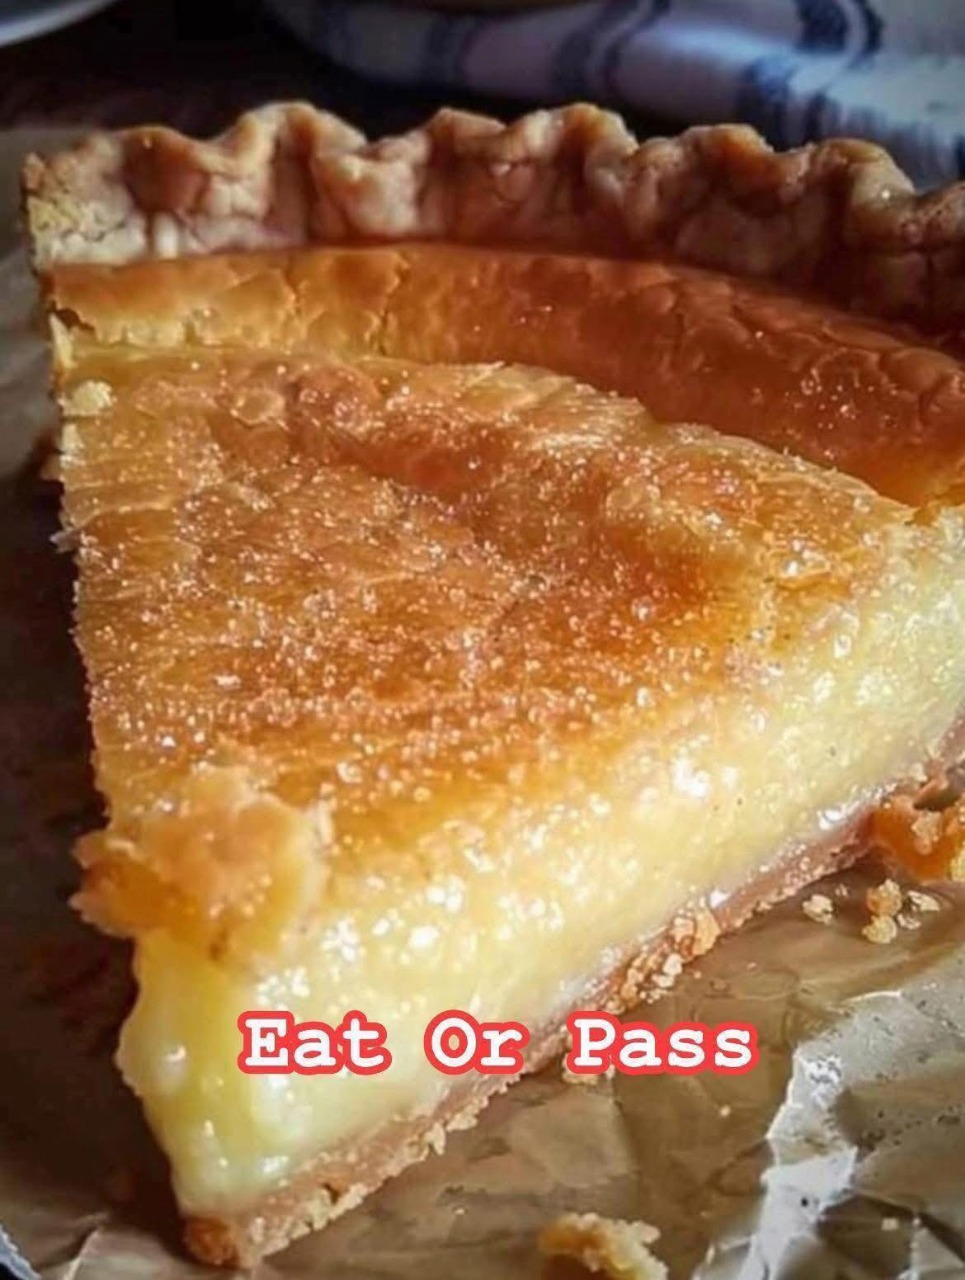
There are recipes that taste good, and then there are recipes that feel like home. Nannie’s Buttermilk Pie belongs to the second kind—the kind passed down through hands that measured by memory and baked with love instead of timers. It’s the pie your grandmother cooled on the windowsill, the one that smelled like butter, sugar, and warm vanilla gently drifting through a summer kitchen. The crust flakes just enough, and the filling is delicate, custard-smooth, lightly tangy from the buttermilk, and sweet without ever being heavy. It’s humble. It’s simple. It’s unforgettable.
🚀 Make Money Online – Up to $50 Per Day!
This old-fashioned pie comes from the rural tradition of making dessert with what you already had in the pantry: eggs, sugar, butter, and cultured milk. While some pies wear frosting, crumble, or cream on their sleeves, Nannie’s Buttermilk Pie sits proudly in its simplicity. Its beauty is its plainness. The magic happens in the oven, where a silky custard sets into a golden top that cracks just slightly as it cools. Serve it warm or chilled—either way, it melts into comfort.
Ingredients
For the Crust (homemade is best, but store-bought works too):
-
1 ¼ cups all-purpose flour
-
½ teaspoon salt
-
1 tablespoon sugar
-
½ cup cold unsalted butter, cut into small cubes
-
3–4 tablespoons ice water
For the Buttermilk Filling:
-
1 cup buttermilk (shake before using)
-
1 ½ cups granulated sugar
-
3 large eggs, room temperature
-
½ cup unsalted butter, melted and slightly cooled
-
1 tablespoon all-purpose flour
-
1 teaspoon pure vanilla extract
-
1 tablespoon lemon juice
-
½ teaspoon ground nutmeg (plus a pinch more for the top)
-
A tiny pinch of salt
How to Make the Pie
Step 1: Prepare the Crust
-
In a medium mixing bowl, stir together the flour, salt, and sugar.
-
Add the cold butter cubes. Using your fingertips or a pastry cutter, blend until the mixture resembles coarse breadcrumbs with a few pea-sized butter bits remaining.
-
Add ice water one tablespoon at a time, mixing gently until the dough just holds together. Do not overwork.
-
Shape into a disk, wrap in plastic wrap, and chill at least 30 minutes.
Once chilled, roll the dough into a circle and place it into a 9-inch pie pan. Trim excess and crimp the edges. Place into the freezer while you make the filling. A cold crust is key to avoiding soggy bottoms.
Step 2: Make the Filling
-
In a large bowl, whisk the eggs until smooth.
-
Add the sugar and whisk until the mixture becomes pale and slightly thickened.
-
Whisk in the flour and salt.
-
Stir in the melted butter, vanilla, and lemon juice.
-
Finally, whisk in the buttermilk until the filling is silky and uniform.
This batter should be pourable but creamy, not thin.
Step 3: Bake
-
Preheat your oven to 350°F (175°C).
-
Remove the pie crust from the freezer.
-
Pour the filling into the unbaked crust.
-
Sprinkle a light dusting of nutmeg across the top.
-
Bake for 45–55 minutes, or until the center is just set—it should have a slight jiggle like soft-set custard, not sloshy.
If the crust begins to brown too deeply, tent lightly with foil.
Step 4: Cool and Serve
Let the pie cool on the counter for at least 1 hour. The flavors deepen and the custard finishes setting as it cools. Serve warm, room temperature, or cold—each version offers its own comfort.
Flavor Notes & Tips
-
Don’t skip the lemon juice. The acidity brightens the custard and keeps the sweetness balanced.
-
Real buttermilk—not milk with vinegar—is key. It provides flavor and a velvety texture that can’t be duplicated.
-
Nutmeg is essential. It gives that old-fashioned bakery aroma that makes this pie nostalgic.
Serving Ideas
-
A light dusting of powdered sugar across the top makes it picture-perfect.
-
Serve with a dollop of softly whipped cream—not too sweet.
-
Fresh berries add a burst of brightness, especially in summer.
How to Store
This pie stores beautifully—another sign of a true heirloom recipe.
-
Refrigerator: Cover loosely and store for up to 4 days.
-
Freezer: Wrap slices and freeze up to 2 months. Thaw overnight in the fridge.
The Story in Every Slice
Buttermilk Pie is more than a dessert—it’s a memory. It’s the pie you make when someone comes home, when someone needs cheering, when neighbors stop by unexpectedly, or when you just need the kitchen to smell like love again. When you cut into this golden, trembling custard and take that first delicate bite, you taste time: flour-dusted aprons, wooden rolling pins, conversations spoken in soft voices over coffee.
