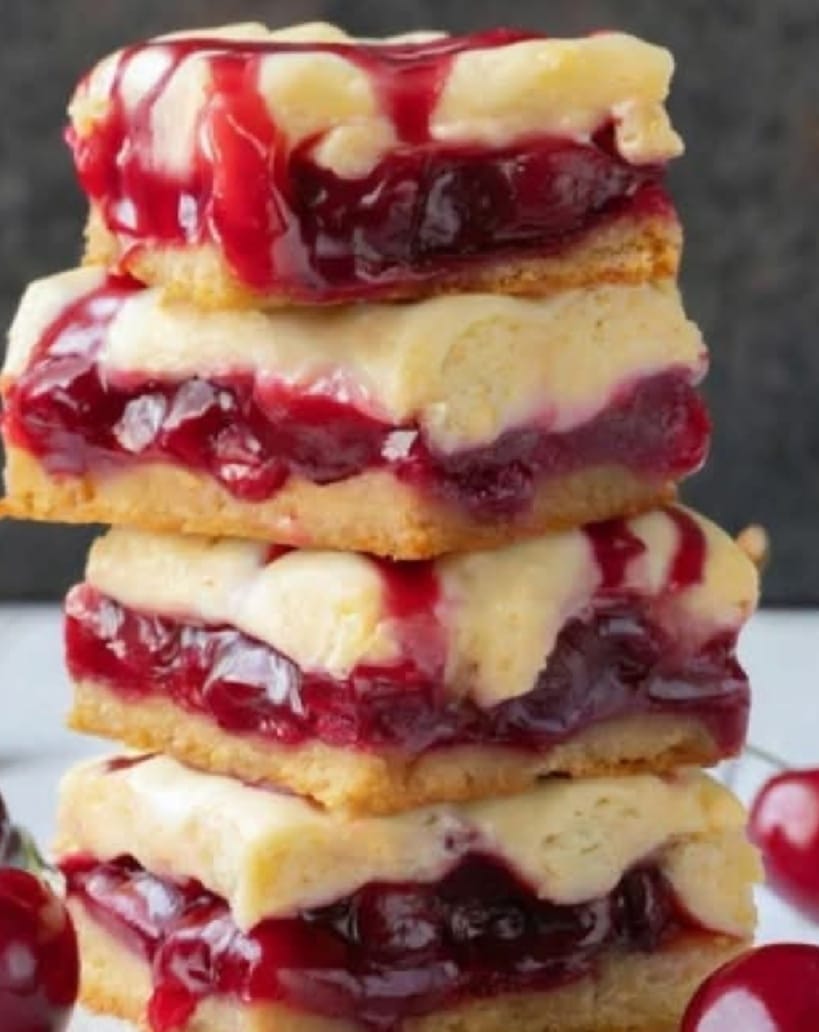
If you love the creamy indulgence of cheesecake paired with the sweet-tart burst of cherries, these Cherry Cheesecake Bars are a dream come true. Unlike traditional cheesecake, these bars offer a portable, sliceable treat that is perfect for parties, picnics, or simply enjoying at home with a cup of coffee. With a buttery crust, luscious cream cheese filling, and vibrant cherry topping, each bite is a harmonious blend of textures and flavors.
🚀 Make Money Online – Up to $50 Per Day!
Ingredients:
For the crust:
-
1½ cups graham cracker crumbs (about 10 full sheets)
-
⅓ cup granulated sugar
-
½ teaspoon ground cinnamon
-
7 tablespoons unsalted butter, melted
For the cheesecake filling:
-
16 oz (450 g) cream cheese, softened
-
½ cup granulated sugar
-
2 large eggs
-
1 teaspoon vanilla extract
-
1 teaspoon lemon zest (optional, for brightness)
-
2 tablespoons all-purpose flour (helps stabilize the filling)
For the cherry topping:
-
1½ cups fresh or frozen cherries, pitted
-
¼ cup granulated sugar
-
1 tablespoon cornstarch
-
2 tablespoons water
-
½ teaspoon vanilla extract
-
½ teaspoon almond extract (optional, enhances cherry flavor)
Optional garnish:
-
Whipped cream
-
White chocolate shavings
-
Toasted almond slices
Instructions:
Step 1: Prepare the Crust
-
Preheat your oven to 350°F (175°C) and line a 9×9-inch baking pan with parchment paper, leaving a slight overhang for easy removal.
-
In a medium bowl, combine graham cracker crumbs, sugar, and cinnamon. Mix until evenly distributed.
-
Pour in the melted butter and stir until the crumbs resemble wet sand and hold together when pressed.
-
Press the crumb mixture firmly into the bottom of the prepared pan using a flat-bottomed cup or your fingers for an even layer.
-
Bake the crust for 8–10 minutes until lightly golden and fragrant. Remove from oven and let cool slightly while preparing the filling.
Step 2: Make the Cheesecake Filling
-
In a large mixing bowl, beat the softened cream cheese on medium speed until smooth and creamy, about 2–3 minutes.
-
Gradually add the sugar and beat until fully incorporated.
-
Add the eggs, one at a time, mixing gently after each addition to avoid overbeating, which can cause cracks during baking.
-
Stir in the vanilla extract, lemon zest, and flour until the mixture is uniform and silky. The flour helps the filling set properly while keeping it creamy.
-
Pour the cheesecake filling over the slightly cooled crust and spread it evenly with a spatula. Smooth the top for a polished finish.
Step 3: Bake the Cheesecake Bars
-
Bake the cheesecake layer at 325°F (160°C) for 25–30 minutes, or until the edges are set and the center slightly jiggles.
-
Avoid overbaking; the cheesecake will continue to set as it cools.
-
Remove from oven and let it cool to room temperature, then transfer to the refrigerator for at least 2 hours, or overnight, for a firmer texture.
Step 4: Prepare the Cherry Topping
-
In a small saucepan, combine cherries, sugar, cornstarch, and water.
-
Cook over medium heat, stirring frequently, until the mixture begins to thicken and bubble, about 5–7 minutes.
-
Remove from heat and stir in vanilla and almond extracts. Allow the topping to cool slightly.
-
Once thickened and slightly cooled, gently spread the cherry topping over the chilled cheesecake layer. Avoid pouring while too hot, as it may seep into the cheesecake and make it watery.
Step 5: Chill and Serve
-
Return the bars to the refrigerator for at least 1 hour to allow the cherry topping to set.
-
Using the parchment overhang, lift the cheesecake from the pan and place it on a cutting board.
-
Cut into squares or rectangles using a sharp knife, wiping the blade clean between cuts to maintain clean edges.
Optional: Top with whipped cream, white chocolate shavings, or toasted almonds for extra elegance and flavor.
Tips for Perfect Cherry Cheesecake Bars
-
Avoid cracks: Don’t overmix the cheesecake filling. Beat just until smooth.
-
Cherry variation: Fresh, frozen, or even canned cherries can be used, but fresh provides the best flavor. Adjust sugar if using tart cherries.
-
Make ahead: These bars taste even better after sitting overnight in the fridge, allowing flavors to meld.
-
Storage: Store in an airtight container in the refrigerator for up to 5 days. You can also freeze the bars for up to 2 months; thaw overnight in the fridge before serving.
Serving Suggestions
Cherry cheesecake bars are versatile. Serve them as a dessert at dinner parties, a treat at afternoon tea, or even as a decadent snack. Pair with a dollop of whipped cream or a scoop of vanilla ice cream for extra indulgence. The balance of the buttery crust, creamy cheesecake, and vibrant cherry topping makes every bite irresistible.
Final Thoughts
These Cherry Cheesecake Bars strike the perfect balance between creamy, sweet, and tangy. The golden graham cracker crust provides a solid foundation, the cheesecake layer is luxuriously smooth, and the cherry topping adds a burst of bright flavor and color. With simple ingredients and easy-to-follow steps, you can create a dessert that looks as beautiful as it tastes. Whether for a special occasion or a weeknight treat, these bars are sure to impress friends, family, or even yourself.
