Kitchen cabinets are one of the most frequently used surfaces in any home, yet they are often overlooked during regular cleaning. Over time, grease, food splatters, dust, and fingerprints accumulate, leaving cabinets looking dull, sticky, and grimy. This buildup not only affects the appearance of your kitchen but can also harbor bacteria and unpleasant odors. Fortunately, restoring your cabinets to their original shine doesn’t require expensive products—just the right method, simple ingredients, and a bit of patience.
🚀 Make Money Online – Up to $50 Per Day!
This complete guide will walk you through a safe, effective, and natural method to deeply clean your kitchen cabinets and bring back their fresh, polished look.
Why Kitchen Cabinets Get So Dirty
Kitchen cabinets are constantly exposed to airborne grease from cooking, steam, and food particles. When grease mixes with dust, it forms a sticky layer that regular wiping often fails to remove. Areas near the stove, handles, and corners tend to accumulate the most grime. Without proper cleaning, cabinets can lose their color, shine, and overall appeal.
Deep cleaning not only improves the appearance but also extends the life of your cabinets by preventing long-term damage.
Ingredients and Supplies You Will Need
This simple cleaning “recipe” uses gentle yet powerful household ingredients.
Ingredients:
-
2 cups warm water
-
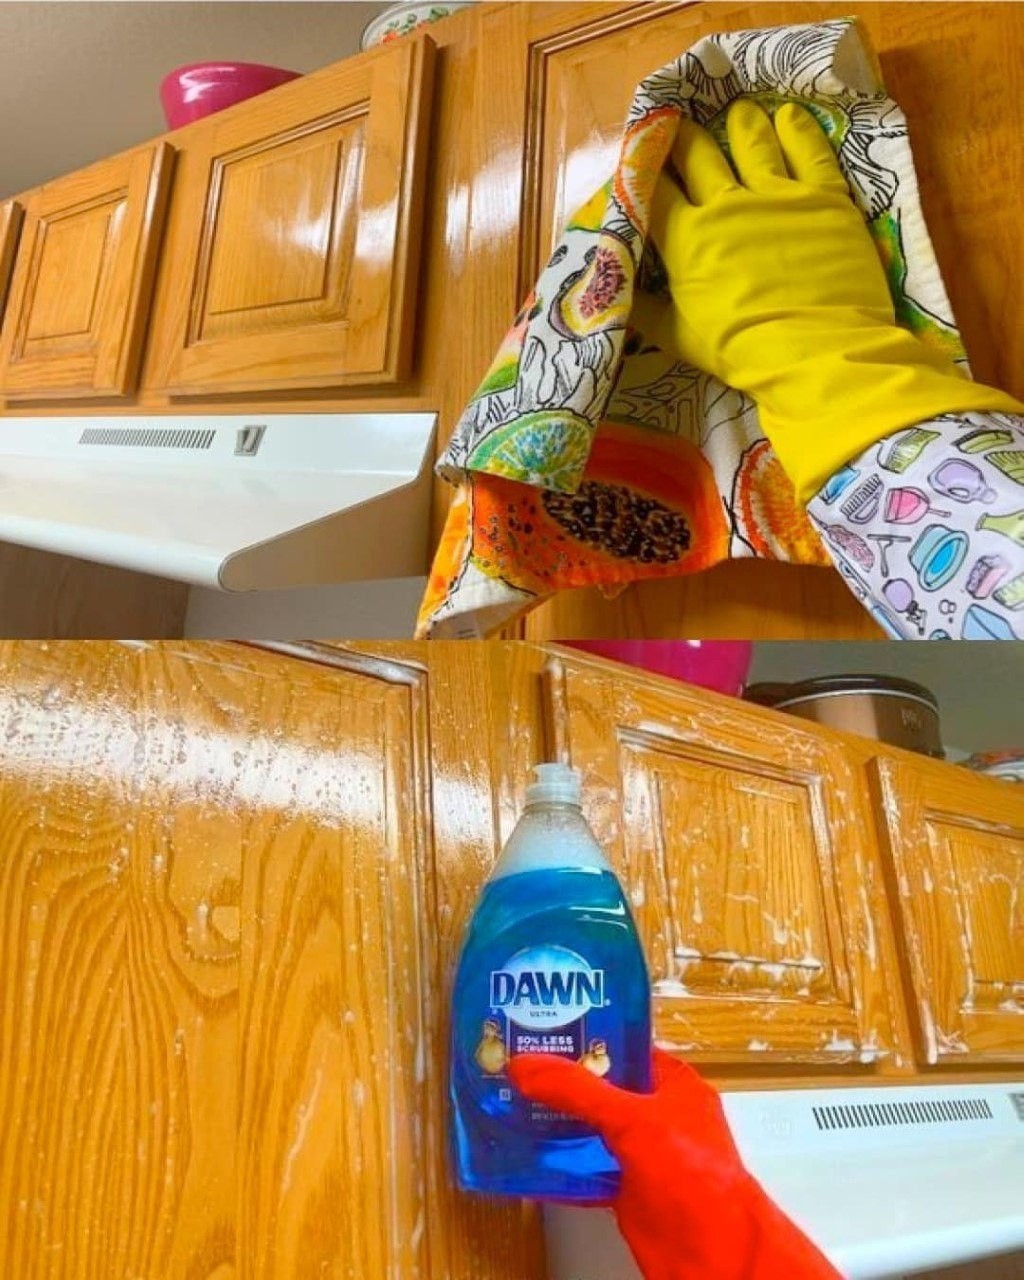
1 tablespoon dish soap (grease-cutting)
-
1 tablespoon white vinegar
-
1 teaspoon baking soda (optional for tough grease)
Supplies:
-
Microfiber cloth or soft sponge
-
Soft-bristled toothbrush or small cleaning brush
-
Spray bottle
-
Dry towel or clean cloth
-
Bowl for mixing solution
These ingredients are safe for most cabinet surfaces, including wood, laminate, and painted cabinets.
Step-by-Step Cleaning Instructions
Step 1: Remove Dust and Loose Dirt
Before using any liquid cleaner, wipe the cabinets with a dry microfiber cloth. This removes loose dust and prevents it from turning into muddy streaks when wet. Pay attention to corners, edges, and tops of cabinets where dust settles.
Step 2: Prepare the Cleaning Solution
In a bowl or spray bottle, mix:
-
2 cups warm water
-
1 tablespoon dish soap
-
1 tablespoon white vinegar
For heavily greasy areas, add 1 teaspoon baking soda. Mix gently until combined.
Dish soap breaks down grease, vinegar dissolves buildup and removes odors, and baking soda provides mild scrubbing power.
Step 3: Test in a Small Area First
Before cleaning all cabinets, test the solution on a small hidden spot. This ensures it doesn’t damage or discolor the surface. Wait a few minutes and check the result.
If everything looks fine, proceed with cleaning.
Step 4: Clean the Cabinet Surfaces
Dip your microfiber cloth or sponge into the solution and wring it out so it’s damp, not soaking wet.
Wipe cabinets gently, working from top to bottom. This prevents dirty water from dripping onto already cleaned areas.
Focus on:
-
Around handles
-
Near cooking areas
-
Corners and edges
-
Areas with visible grease buildup
Avoid using too much water, especially on wooden cabinets, as excess moisture can damage the finish.
Step 5: Scrub Tough Grease Spots
For stubborn grease, dip a soft toothbrush into the solution and gently scrub the area. Use small circular motions to break down grime without scratching the surface.
Baking soda in the mixture helps lift tough residue safely.
Step 6: Rinse with Clean Water
After cleaning, wipe cabinets again using a clean cloth dampened with plain warm water. This removes soap residue and prevents streaking.
This step is essential for restoring the cabinet’s natural shine.
Step 7: Dry Completely
Use a dry towel or cloth to dry cabinets immediately. This prevents water spots and protects wood from moisture damage.
Drying also helps bring out the cabinet’s natural finish and shine.
Optional Step: Restore Shine Naturally
To enhance shine and protect cabinets, you can apply a small amount of natural oil.
Lightly dampen a cloth with:
-
A few drops of olive oil or mineral oil
Rub gently onto wooden cabinets, then buff with a dry cloth.
This restores moisture and gives cabinets a polished look.
How Often to Clean Kitchen Cabinets
To keep cabinets looking fresh:
-
Light cleaning: Once per week
-
Deep cleaning: Once every 1–2 months
-
Handle and high-touch areas: Twice per week
Regular cleaning prevents heavy buildup and makes maintenance easier.
Common Mistakes to Avoid
Avoid these mistakes to protect your cabinets:
Using harsh chemicals: Strong cleaners can strip finish and damage surfaces.
Using too much water: Excess moisture can warp wood.
Using rough scrubbers: Steel wool or hard brushes can scratch cabinets.
Skipping drying: Leaving cabinets wet can cause damage and streaks.
Gentle cleaning is the safest and most effective method.
Benefits of Regular Cabinet Cleaning
Deep cleaning your cabinets offers several important benefits:
-
Restores natural shine and color
-
Removes grease and bacteria
-
Eliminates unpleasant odors
-
Extends cabinet lifespan
-
Improves overall kitchen appearance
Clean cabinets make your entire kitchen feel fresher and more welcoming.
Extra Tips for Long-Lasting Clean Cabinets
-
Always use your stove exhaust fan to reduce grease buildup
-
Wipe spills immediately
-
Clean handles frequently
-
Keep microfiber cloths handy for quick cleaning
-
Avoid touching cabinets with greasy hands
Small habits prevent major buildup.
Conclusion
Cleaning dull and grimy kitchen cabinets doesn’t require expensive products or complicated methods. With a simple mixture of warm water, dish soap, vinegar, and gentle cleaning tools, you can safely remove grease, grime, and buildup. The key is consistency, gentle cleaning, and proper drying.
